Learning How to Print with Carbon
On the 18th November I flew to Christchurch for a two-day workshop with Stuart Clook [https://www.stuartclook.com/]. Stuart taught me how to use platinum and palladium to print for my exhibition, but this time I was learning how to produce carbon tissues and using a digital negative how to create a final transfer print.
As it takes over a week for the carbon tissues to dry Stuart had prepared some the previous week but reassured us that we would learn how to make the tissues later in the workshop. Prior to the workshop I started to read the book ‘Carbon Transfer Printing, a step-by-step manual, featuring contemporary carbon printers and their creative practice’ (2020) by Sandy King, Don Nelson and John Lockhart. This gave a good background in the process so I was somewhat prepared for the complexities.
Sensitising the Tissue
To begin with each tissue needed to be sensitised. The tissue is taped down to a plastic board:

Then measuring out the chemicals which is a mixture of ammonium dichromate and acetone.

And then coating the tissue with the chemicals using a foam brush to spread gently over the tissue. Applying half at a time so that it can be absorbed:

The tissue is then lets to dry with a fan for 90 minutes.
Digital Negatives and Exposing
Whilst waiting for the tissues to dry we printed of the digital negatives. I had taken images with me in TIFF files that were from the exhibition as I wanted to see a comparison of the carbon transfer effect against that of platinum and palladium.
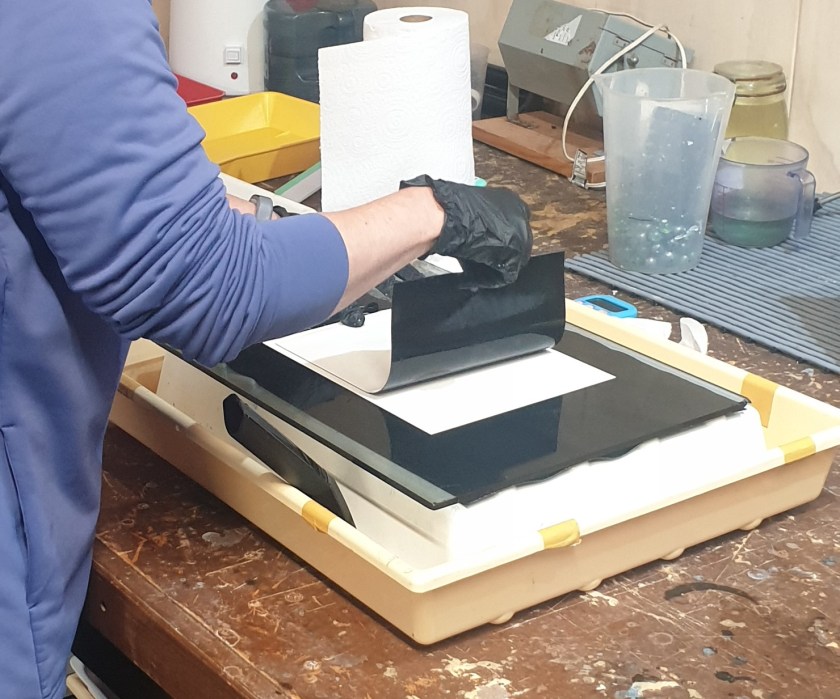
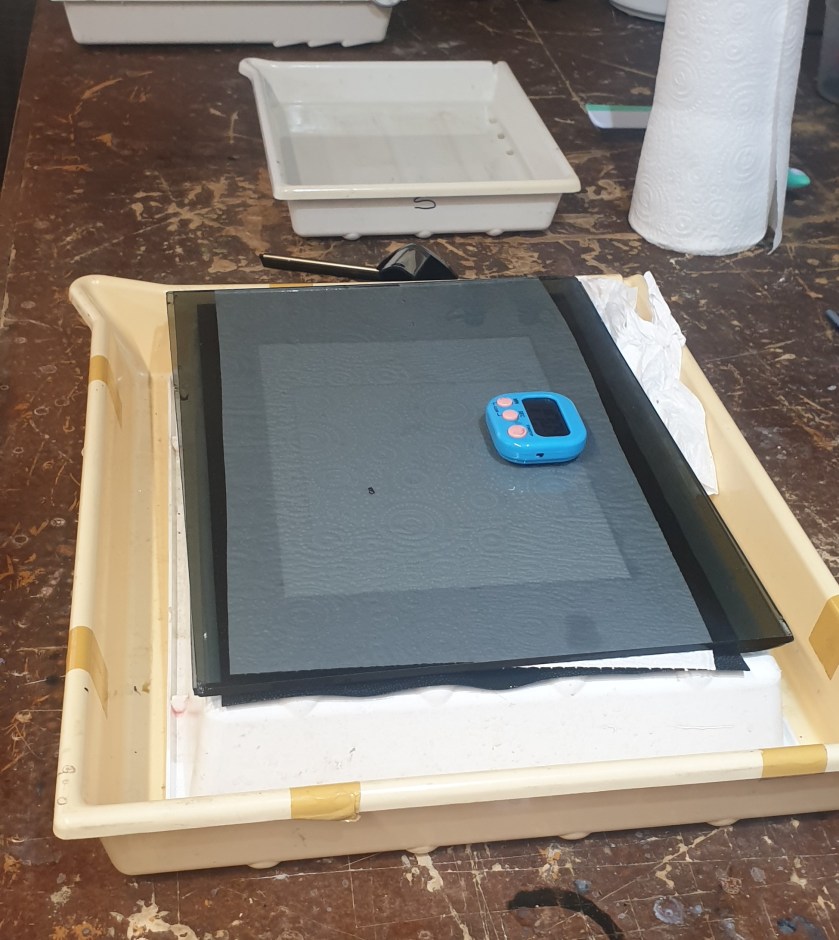
Once the sensitised tissue has dried the negative is placed onto the tissue and then placed on a board beneath glass to be exposed to UV light for 19 minutes or for a set number to UV units:
Transfer
Following the UV exposure, the tissue is then placed into a bath of 26 degrees C water for 3 minutes. The surface is gently massaged to remove any bubbles. In a separate bath the final support paper is also placed for about 90 seconds. The support paper is placed on a board and then the tissue placed face down onto the support paper.
Excess water is then squeegeed gently from between the support paper and the tissue. Water is blotted with paper towel. Towel is placed on top and then covered with glass to help hold the tissue in contact with the support paper. This is then allowed to sit for 30 minutes.

Development
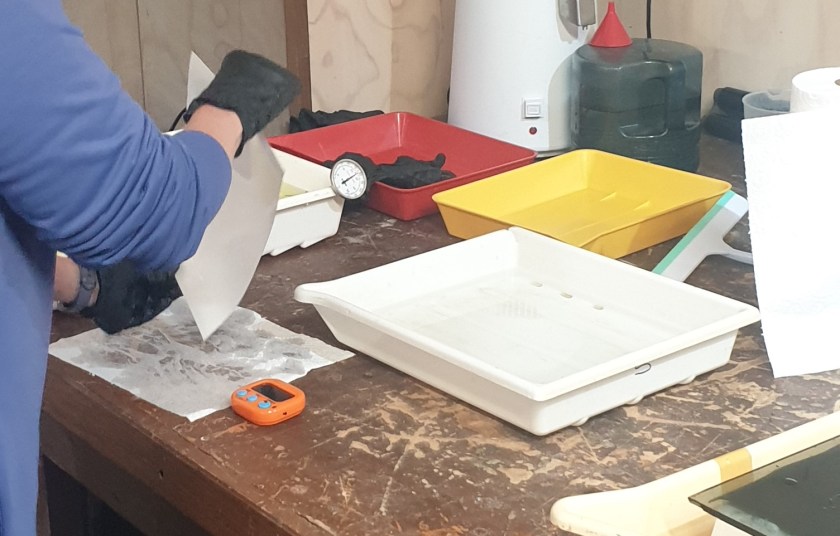
The mated paper is then placed into a clean water bath which is at 42 degrees C and left for five minutes. The pigment can be seen to ooze out of the edges. After five minutes the corner of the tissue is lifted and carefully removed.
The support paper is then gently washed to remove the unhardened gelatin, keeping the water bath at 42 degrees. Takes about 5-10 minutes. The support paper is then transferred to a cold-water bath to wash the remaining pigment and to clean up the edges with a brush.


Video of Developing
The following video was takening during the final hours of the workshop by Stuart Clook [https://www.stuartclook.com] who has given his approval to use here.
